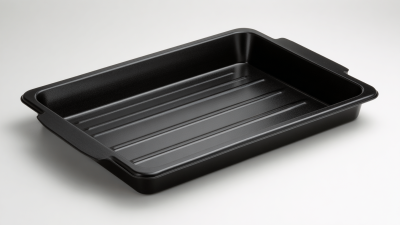
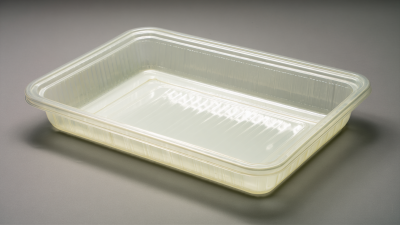
Choosing the right rubber drip tray is more practical than it first appears. A tray may look sturdy online, yet warp beside a warm engine or slide across a polished workshop floor. The best choice depends on material quality, dimensions, drainage control, cleaning needs, and the liquid involved. Oil, coolant, water, and cleaning chemicals can affect rubber differently.
“Performance begins with fit, not appearance,” says Dr. Laura Chen, a rubber-product engineer with experience in industrial containment systems. Her advice reflects a common field lesson: measure the equipment footprint before comparing products. A rubber drip tray should extend beyond the likely leak area, but it should not create a trip hazard. Raised edges help contain splashes. Textured bases can improve grip. Flexible walls are useful, although excessive softness may reduce stability under heavy containers.
Small details matter. Check whether the tray remains flat after storage. Press the corners. Inspect the seam. Look for a realistic load rating, not vague claims such as “heavy duty.” Consider temperature exposure, sunlight, and repeated washing. Some trays resist petroleum products well, while others may swell or crack. Always review the manufacturer’s compatibility guidance.
Nothing is perfect.
In practice, I have seen buyers focus on thickness and overlook cleaning access. That mistake can leave residue in shallow grooves. Choose a surface that a brush can reach. Think about carrying handles, storage space, and disposal procedures too. The following seven tips offer a clearer way to compare options, avoid costly assumptions, and select a rubber drip tray suited to its actual working environment.
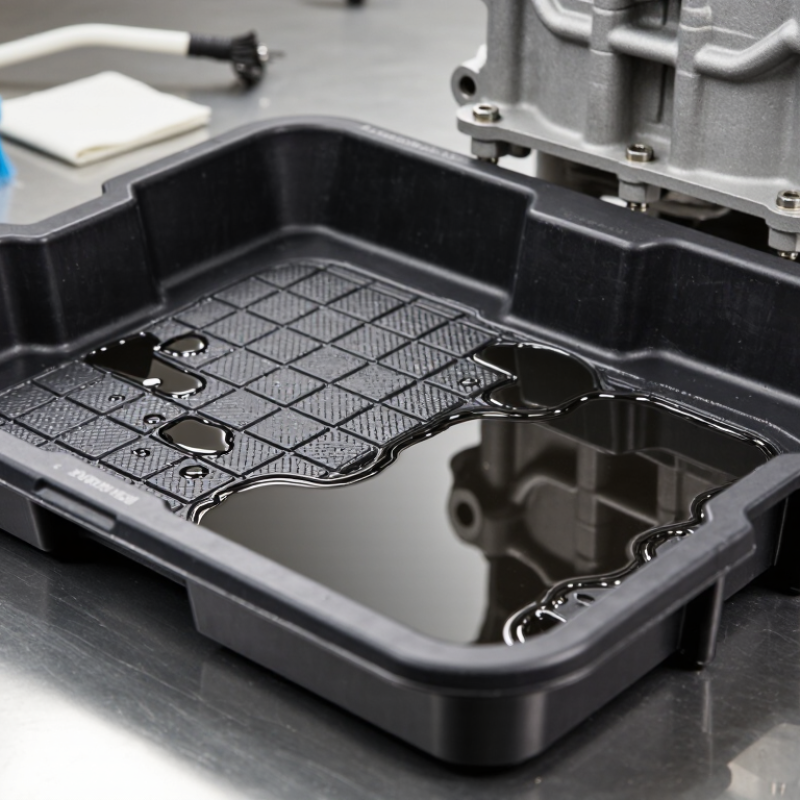
Tip 1: Define the leak before choosing the tray.
A sink, compressor, vehicle, or plant pot creates different risks. Water needs a textured surface and raised edges. Oil needs tested chemical resistance. Do not assume every rubber compound performs equally.
The U.S. CDC reports that falls send more than 3 million older adults to emergency departments annually. That figure makes placement a safety decision, not decoration. Put the tray directly beneath the drip source. Keep it away from walking paths, door swings, and loose cables. Leave enough clearance for inspection. A tray hidden under equipment may collect liquid, but nobody will notice it.
Tip 2: Measure the splash zone, not only the equipment footprint.
Add practical side clearance for movement and cleaning. A shallow tray often looks neat, yet it can overflow quickly. I have seen this mistake in small utility areas. It saved space, but created extra wiping work.
Tip 3: Check the floor and drainage routine.
The U.S. Bureau of Labor Statistics continues to identify slips, trips, and falls as major workplace injury categories. A stable, non-skid base helps, but it cannot fix a sloping or damaged floor. Test the tray with a small amount of clean water first. Then inspect the edges, odor, flexibility, and surface after repeated use. The best location is accessible, visible, and simple to service.
Choose the right dimensions before checking appearance.
Measure the equipment, including handles and exposed fittings. Leave a small border for splashes, but avoid excessive empty space.
Check the tray’s depth. A shallow tray suits light condensation, while a deeper model handles leaking containers better.
Match the shape to the workspace. Rectangular trays fit shelves efficiently, while square trays work well beneath compact equipment. Round trays can be useful where corners create cleaning problems.
Estimate capacity from real conditions, not ideal ones. A tray under a frequently opened machine may collect more liquid than expected. Add extra capacity for weekends, shutdowns, or delayed cleaning.
Inspect the rubber’s flexibility and recovery. I have found that overly soft material can sag when loaded, although very stiff rubber may sit unevenly on imperfect floors. This is an easy detail to overlook.
Look for raised edges and a stable base. These features help contain spills and reduce sliding on smooth surfaces.
Consider handling weight when the tray is full. A large tray may hold more, but it can become awkward to lift safely. Check wall thickness, drainage options, and cleaning access before buying. Wipe the tray after testing it in place. A practical trial often reveals sizing mistakes that measurements miss.
Material choice controls how a rubber drip tray performs over time. Natural rubber offers flexibility and good impact resistance, but it may age faster under sunlight or oils. EPDM handles weather, ozone, and temperature changes well. Nitrile is more suitable where petroleum-based fluids may appear. Silicone tolerates heat, although it can tear more easily under sharp loads. Match the rubber to the liquid, temperature, and work environment.
Check the tray’s thickness, molded edges, and surface texture. A heavier tray usually resists curling when placed on a concrete floor. Raised borders help contain spills, while a patterned base can reduce slipping beneath containers. Look for stable performance between cold storage rooms and warm service areas. Flex the sample by hand. It should bend without cracking or feeling excessively soft.
Safety depends on more than material. Choose a tray with low-odor, non-toxic rubber when it may contact shared equipment or indoor surfaces. Confirm that cleaning agents will not weaken it. Inspect corners for weak seams and watch for trapped moisture underneath. I once underestimated floor slope; even a durable tray failed to contain liquid near one edge. That mistake still matters. Recheck the fit, cleanability, and replacement cost before choosing the thickest option. The strongest tray is not always the most practical.
7 Tips for Choosing the Best Rubber Drip Tray
Cleaning needs should guide your tray choice. The CDC separates cleaning from disinfection, because removing dirt must come before killing remaining germs. Choose a smooth, nonporous rubber surface with rounded corners. It should tolerate the detergents used in your facility. Check the manufacturer’s chemical-resistance information carefully. Some rubber compounds swell or crack after repeated exposure. I have learned that “easy to clean” is not always easy in practice. A deep tray may hold more liquid, yet it can create awkward lifting and hidden residue. Keep the weight manageable. Also inspect seams, handles, and textured areas before buying.
Drainage deserves equal attention. A tray with a low outlet, removable plug, or slight internal slope prevents stagnant water. Measure the drain height first. A mismatch can leave several millimeters of liquid behind. That small puddle still matters. The U.S. Bureau of Labor Statistics recorded 865 fatal occupational injuries involving falls, slips, or trips in 2022. Good drainage cannot remove every hazard, but it can reduce standing liquid near work areas. Select a tray that supports routine rinsing, quick drying, and visible inspection. Plan the maintenance schedule before installation. Clean daily where spills are frequent, and inspect weekly for cuts, brittleness, blocked outlets, and odor. Replace damaged trays early. Waiting is usually more expensive. My own preference is not always perfect: a slightly smaller tray often gets cleaned more consistently than a large, neglected one.
| Tip | Selection Dimension | What to Check | Practical Recommendation | Cleaning and Maintenance Guidance |
|---|---|---|---|---|
| 1 | Match the Tray to the Spill Type | Identify whether the tray will collect water, mud, food residue, oils, chemicals, or a mixture of liquids. | For ordinary water and dirt, choose a general-purpose rubber tray. For oils or chemicals, verify the material compatibility information before purchase. | Remove liquids promptly and rinse residues before they dry. Avoid storing incompatible chemicals in the tray for extended periods. |
| 2 | Evaluate Cleaning Requirements | Consider how often the tray will be cleaned and whether it must be washed indoors, outdoors, or in a commercial cleaning area. | Easy-clean design preferred | Select smooth inner surfaces, rounded corners, and limited grooves. A removable tray is generally easier to empty and wash than a fixed one. |
| 3 | Check Drainage Options | Look for a raised edge, drainage outlet, removable plug, or channel system suitable for the intended location. | Use a tray with a drain connection when frequent liquid removal is expected. For occasional spills, a sealed tray with sufficient capacity may be more practical. | Keep drain openings clear of dust and solids. Flush the drainage path regularly and inspect seals for leakage. |
| 4 | Confirm Size and Containment Capacity | Measure the equipment footprint and allow enough space around the item to catch splashes, drips, and tracked-in water. | Leave a small clearance around the equipment while ensuring the tray fits securely in the available area. Deeper sides are useful where larger spills are possible. | Do not exceed the tray's stated capacity. Empty it before the liquid reaches the upper edge or contacts nearby electrical components. |
| 5 | Assess Slip Resistance and Stability | Check the underside texture, tray flexibility, edge stability, and performance on the actual floor surface. | Choose a non-slip base for smooth floors and a reinforced structure for areas with regular foot or equipment traffic. | Clean the underside as well as the top surface. Dirt, grease, and water beneath the tray can reduce friction and cause movement. |
| 6 | Review Material Durability | Consider temperature, sunlight, moisture, abrasion, and contact with cleaning agents or other substances. | For outdoor or high-use applications, select a tray described as resistant to weathering, cracking, and repeated flexing. Confirm the usable temperature range. | Keep the tray away from unnecessary heat and prolonged direct sunlight when the material is not rated for those conditions. Replace it if cracks or permanent deformation appear. |
| 7 | Plan Routine Inspection and Replacement | Determine who will inspect the tray and how damage, odor, mold, blocked drains, or loss of flexibility will be recorded. | Use a simple inspection schedule based on exposure and usage: more frequent checks for busy, wet, or chemical-handling areas. | Inspect edges, corners, seams, plugs, and the underside. Replace the tray when it no longer remains stable, watertight, or easy to sanitize. |
Selection reminder: The most suitable rubber drip tray balances spill capacity, chemical compatibility, drainage, slip resistance, cleaning effort, and expected service conditions.
Cost should mean total cost, not only purchase price. In field inspections, I compare tray life, cleaning time, replacement frequency, and spill damage.
Tip 1: Measure the spill volume first. A tray that is too shallow creates expensive messes.
Tip 2: Check rubber hardness, usually listed by Shore A rating.
Tip 3: Request chemical, temperature, and compression-set test results. A thick tray is not automatically better.
According to the U.S. Bureau of Labor Statistics, 865 fatal workplace injuries involved falls, slips, or trips in 2022. Stable, non-slip rubber deserves serious attention.
Tip 4: Inspect the sample for even walls, sealed edges, odor, cracks, and warping.
Tip 5: Ask whether testing follows recognized methods, such as ASTM material standards.
I once trusted appearance too quickly. The surface looked excellent, but the base softened near a warm machine. That mistake still influences my inspection checklist.
Consider recycled content carefully; it may reduce cost, but inconsistent blends can affect durability.
Tip 6: Request batch records, dimensional tolerances, and a written replacement policy.
Tip 7: Confirm lead times using a small trial order before purchasing at scale.
The ISO Survey 2023 recorded more than 1.5 million ISO 9001 certificates worldwide, yet certification alone cannot prove every tray will perform well.
Review audit scope, communication speed, packaging quality, and delivery history. Keep one approved sample for comparison. Suppliers sometimes change compounds without clear notice.